Two days ago we launched Version 6, our newest update to PBXware and gloCOM. In addition to the new features added, our latest product, gloCOM Meeting, was announced. If you have read our ‘What’s New in Version 6’ blog post, you’ll know that this new product takes video conferencing to a whole new level!
While video conferencing, gloCOM Meeting users can also share their screens, instant message, and send file links. Single or group chat can turn into a meeting with the click of a button. Users can add or remove participants as needed by using the drag-and-drop feature. The best part is that you can send an invitation to non-gloCOM users!
Setting up a gloCOM Meeting is really easy, let us show you!
Start or Join a Meeting
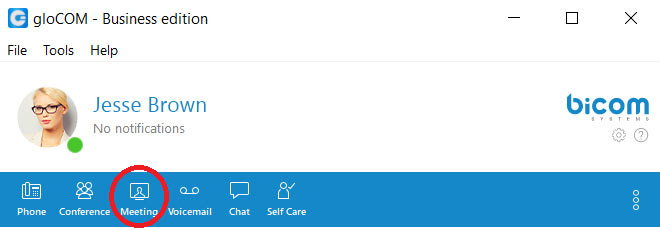
On gloCOM, your unified communications desktop application, users can find the Meeting icon displayed in the main application bar. By clicking on the icon, a screen will appear that allows you to start or join a meeting. To start a meeting, you drag-and-drop the participants from your gloCOM dashboard into the meeting and click the ‘Start’ button. Each gloCOM Meeting is associated with a unique number that can be entered for users who wish to join an existing meeting. All you must do to join is enter the meeting number and click the ‘Start’ button.
Updated in gloCOM 6.1 – users can now set their meetings to ‘public.’ There is
no need to invite users, any user on gloCOM is eligible to join.
When scheduling a meeting, a user must fill in the relevant details like:
- Subject
- Date and Time
- Duration
- If it is Recurring
- Description
- Participants
All of your gloCOM contacts appear on the left-hand side under the ‘Contacts’ tab. To invite people who are not on gloCOM, a user must enter the participant’s email address under the ‘Email’ tab. Users also have a ‘Meeting List’ that they can search by name or number for their upcoming, recent, and recurring meetings.
Say you’re in a single or group chat and want to turn it into a meeting. No problem! The meeting icon also appears at the top of the application bar of the conversation. With the click of a button, you can go from tedious text exchanges to seeing familiar faces.
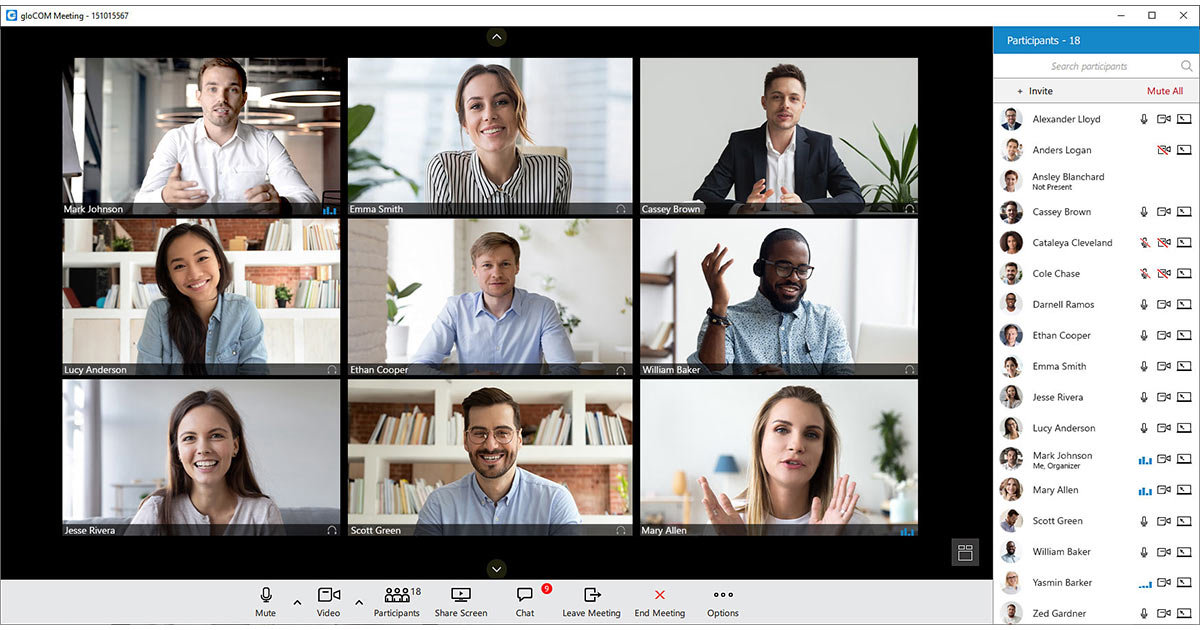
Now that you are in the meeting, let’s play around with what you can do!
Audio and Video
First off, how do you want to connect your audio? Users can connect via desk phone, softphone, computer audio, or by their mobile phone. You can even choose to be a listener and turn off your audio completely. The same goes for the video. If you are having a bad hair day, you can turn on/off your video camera.
Add/Remove Participants
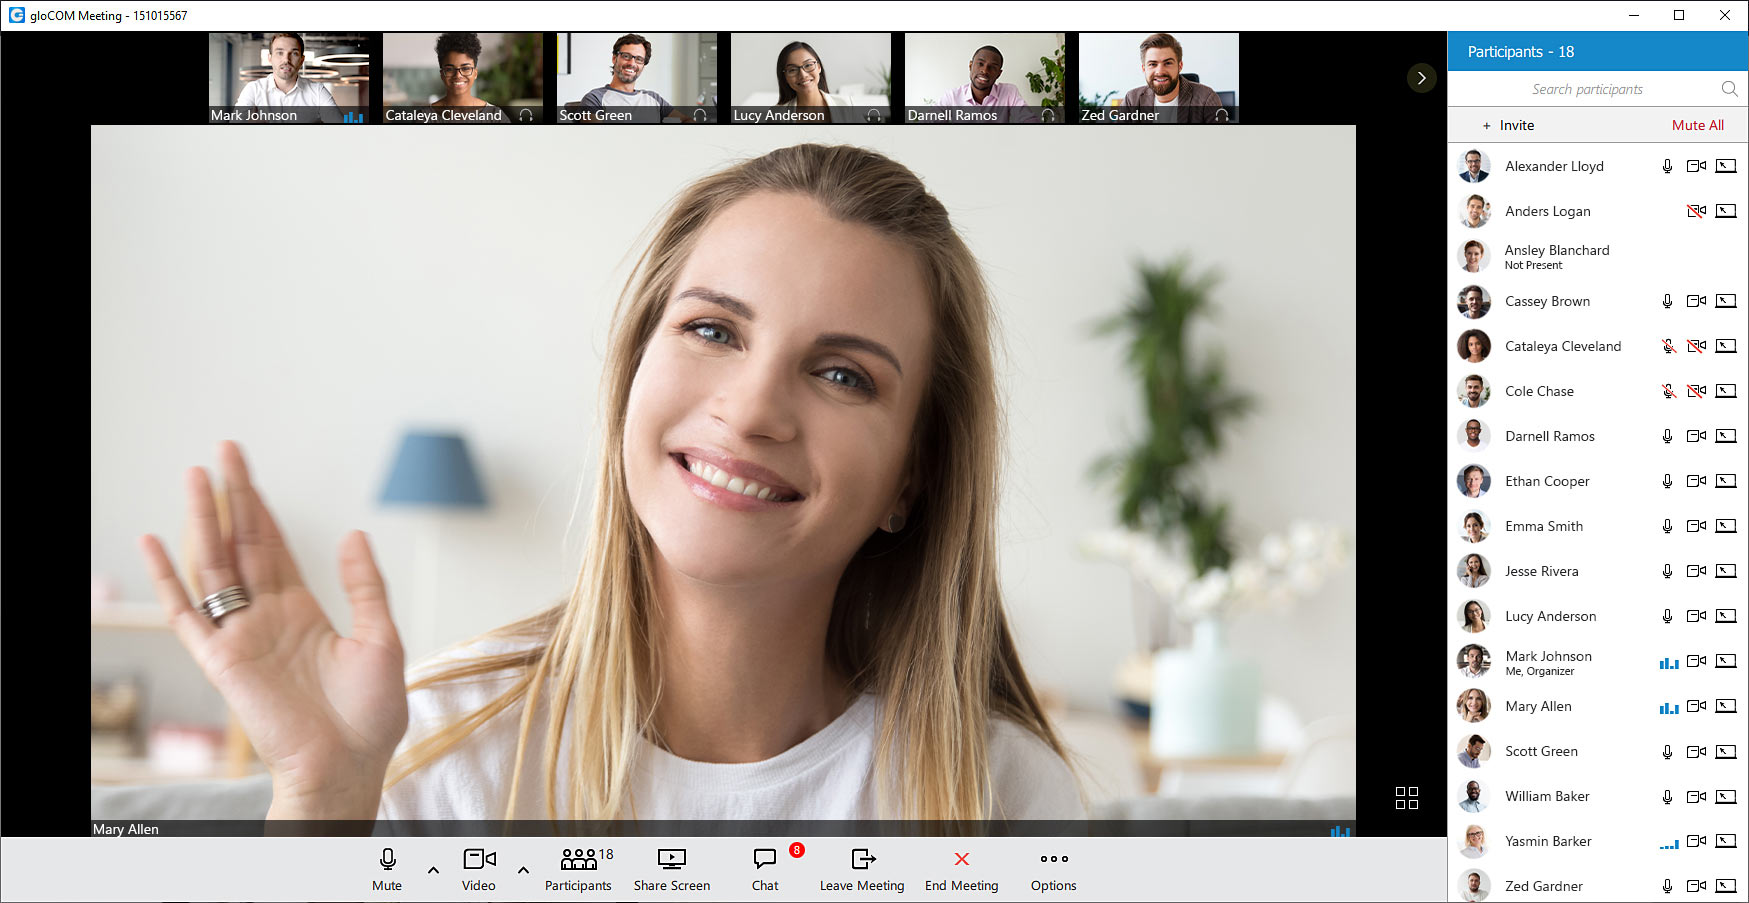
At the bottom of the screen, you will see a ‘Participants’ icon. By clicking it, the list of users in the meeting will pop up on the right-hand side. There you can search, invite, and remove participants.
There are many ways to invite people into a meeting. Users can:
- Drag-and-Drop contacts from the gloCOM Dashboard
- Click the Contact’s Name in the Contacts Tab
- Invite by Email
- Invite by Phone Number
Or you can set the meeting to ‘public’ and have anyone join! Updated in gloCOM 6.1.
Screen Share
When sharing your screen, users have the option to share their whole screen, a certain area, or a specific application. Screen share is an extremely useful collaborating tool for meetings! It allows you to show the person, rather than tell them. Combining screen share and video conferencing makes meetings with coworkers more personable. After a while, it can feel like you are working together in the same room instead of meeting virtually.
Chat
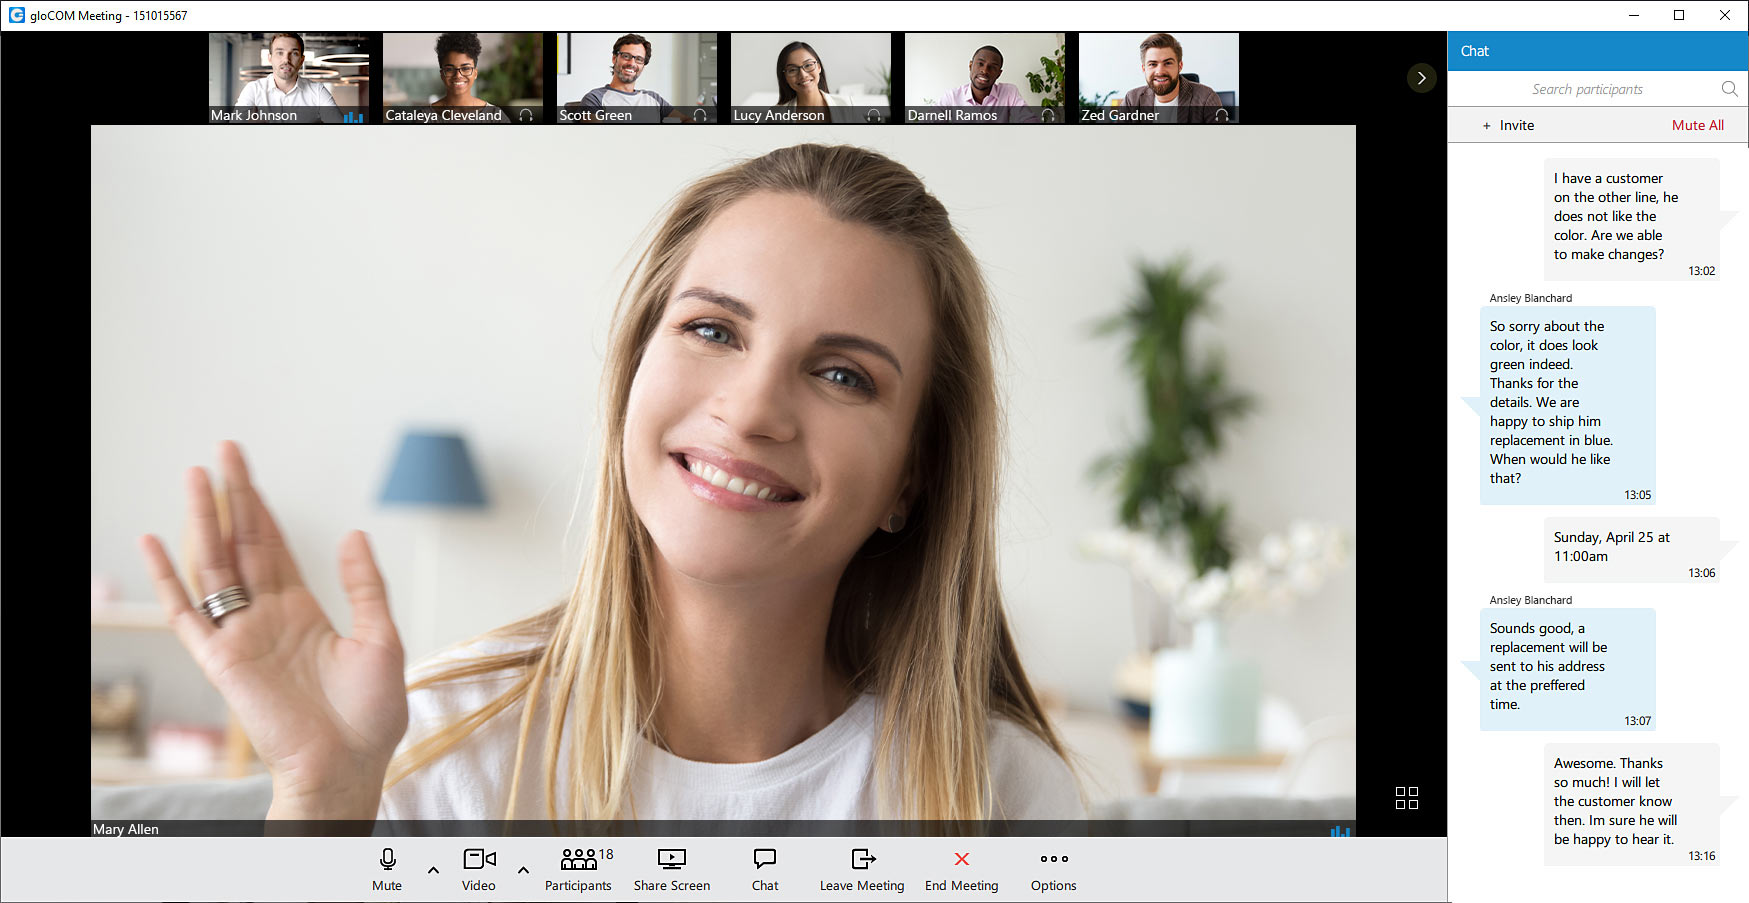
While in the meeting, there is a fully functioning chat option. Users can send messages, useful links, and emojis. The screen share feature is useful, but sometimes you need to show more than one thing or give copies to participants. The chat box is a helpful tool during a meeting because it allows participants to do just that! Useful text and links to other resources can be sent instantly through the chat instead of later in an email.
In the event your audio/video is down, the chat function also provides another form of communication. If a participant is accidentally stuck on mute, you can send them a friendly reminder in the chat box.
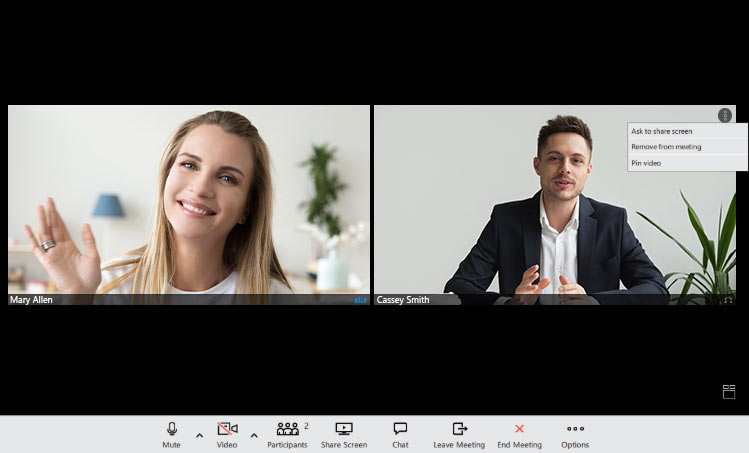
Leave/End Meeting
All good things must come to an end. Participants can leave a meeting at any time by exiting out of the window. But, the organizer of the meeting has two options when they exit. The organizer can choose to ‘Leave’ the meeting or ‘End’ the meeting.
To ‘Leave’ means you are exiting, but the meeting will continue for the other participants. When a user selects ‘End’ the meeting, it will end for everyone. Choosing to leave rather than end will allow participants to continue working, catch up on the information in the chat, and add other people.
Are you ready to schedule a meeting? Do you miss your coworkers’ faces? Update to version 6 by heading to our download page here or contact our sales team at sales@bicomsystems.com for more information.